Thursday, April 28, 2011

Thursday, April 21, 2011
The Mule
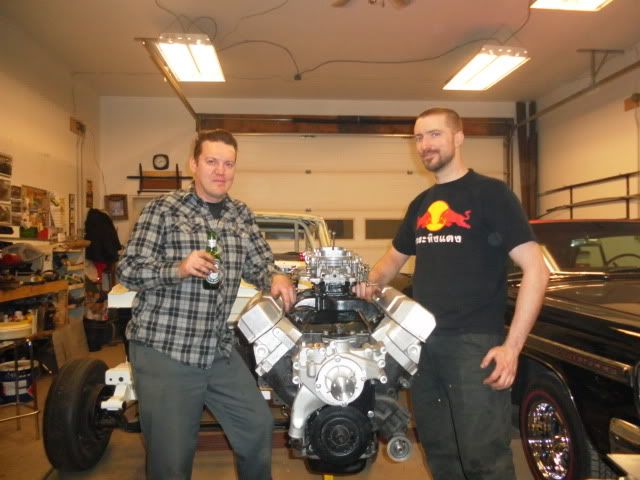
We finally got down to business with our first test subject aka "The Black-up". This motor has been in the family for quite some time and has never received the respect that it deserves. It's basically a '77 truck motor that probably expected another year or so of faithful utilitarian duties before getting parked in a field and returning back to the Earth. Nothing could be further from the truth. A bunch of freakazoid gear heads picked it up and decided to stab it into their race car that had a wounded mill. It then got unceremoniously over carbureted and hauled to Spokane raceway where it was hot lapped until the main bearings fell away like cigarette paper. The black-up was then freshened with a forged crank and got stabbed into my Polara tow wagon to haul our 6000# race program to Mission raceway. This journey went swimmingly well for the first 3 1/2 hours before the cam decided to seriously give up the ghost and break into three equal pieces. Pretty much one of the worst engine sounds I have ever heard. Back to the shop to be cleaned out and stored under a bench for several years.
Fast forward to the present day where these same group of hooligans are yet again in need of a big block to flog after spending all of their dough on building some whacked out altered wheelbase wagon. An injected 500+ inch monster will eventually live between her fenders but not this year. So for anyone who has ever built a race engine (or any engine for that matter) you know that cleanliness, preperation and a plan of action are key ingredients to making an internal combustion engine stay in one piece. I spent days getting everything ready and finally last night we put it all together. This will never be a serious horsepower machine at maybe 9:1 compression but we've got some good bolt-ons to scavenge every ounce of power to make this disrespected big block into a descent little (big) mill.

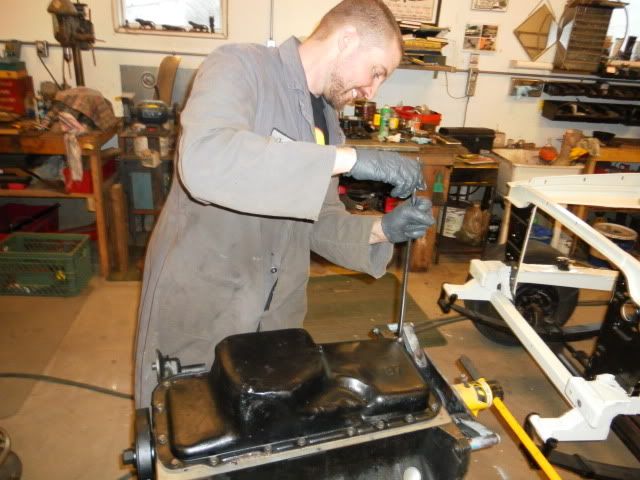
After some basic block prep we were ready to button up the bottom end. We added a crank scraper and a one way oil screen to keep things from getting too frothy down low and we topped (bottomed) it all off with the best stock pan in the collection with a weld-in steel oil baffle. Hello budget.
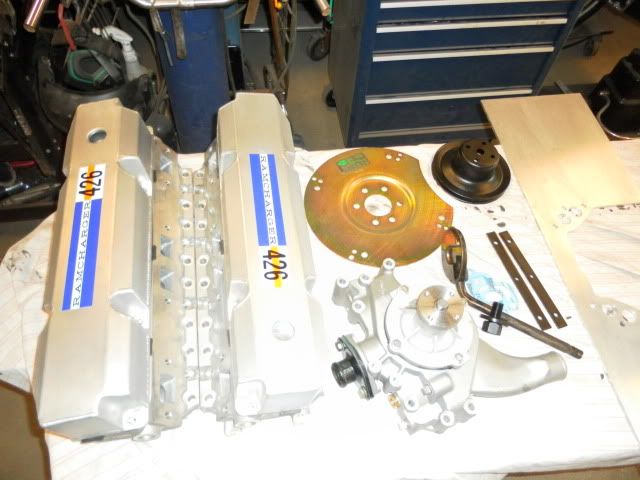
Next we moved onto the top end where we bolted on the mildly massaged 440source aluminum heads. These heads are a closed chamber design so should help out in the low compression department as well as having a nice flow characteristic and weight savings.
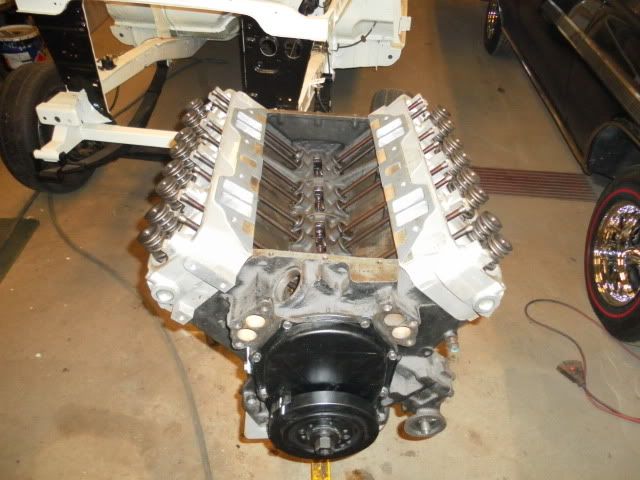
Finally, we topped off the evening by bolting on the low rise dual quad that we will also be testing. It's a dual plane design which is more of a street intake but it also houses two carbs so we'll see how it works out. We'll also be experimenting with a couple of 2" Offy spacers. Failing that we will probably just bring our M1 intake to the track with our old trusty 950 double pumper since an intake swap is only eight bolts.
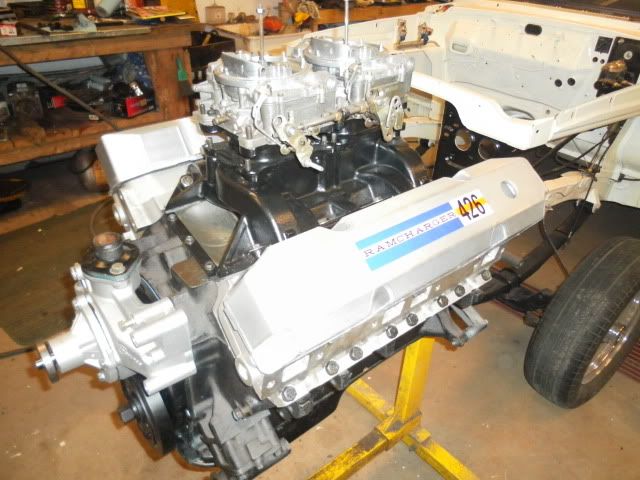
Over-all a great evening of wrenching and since we were all still pretty wired we took it down to the pub for some live music, pool and libations. Damn, I have a good life.
Tuesday, April 12, 2011
Dashing Good Looks
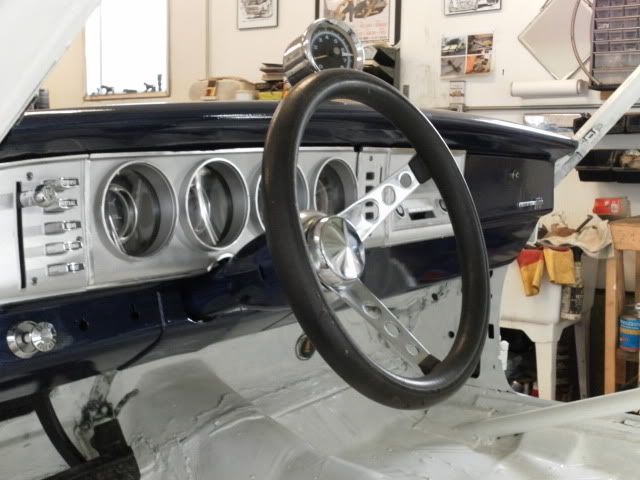
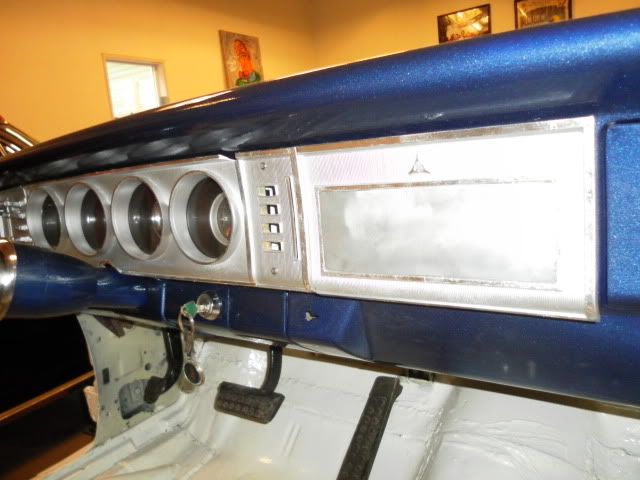
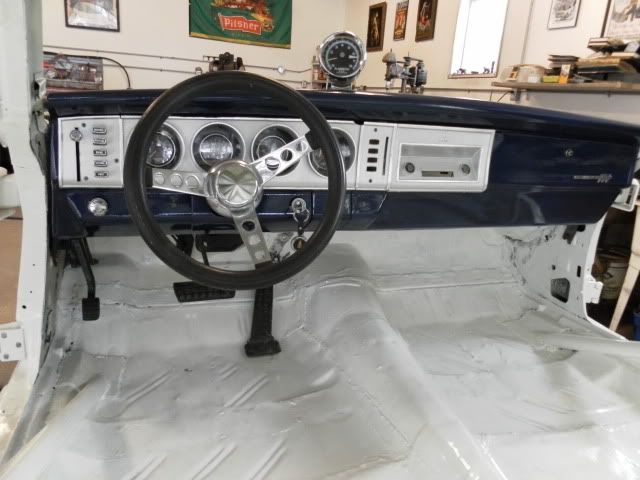
We finally settled on a colour to off-set the Ivory on the body and wanted to showcase some of it in our interior. The dash originally had a pad on it so was full of holes for mounting it, plus there were other holes drilled throughout the top for speakers and the like. I set to work welding up these unwanted vacancies and then set to work laying body filler over the whole thing since it was pocked and marred by surface rust. Once that was looking nice and smooth I layed down some primer and went to work on the steering column, hood scoop and other dash related items giving them the same treatment. Since I ended up brushing on some of the single stage ivory paint in the interior with reasonably descent results I thought I would try this with the blue. Huge mistake!! It turned out looking like crap and I had to sand everything down to smooth again. What a total waste of time and energy. O.K. I'm over it.
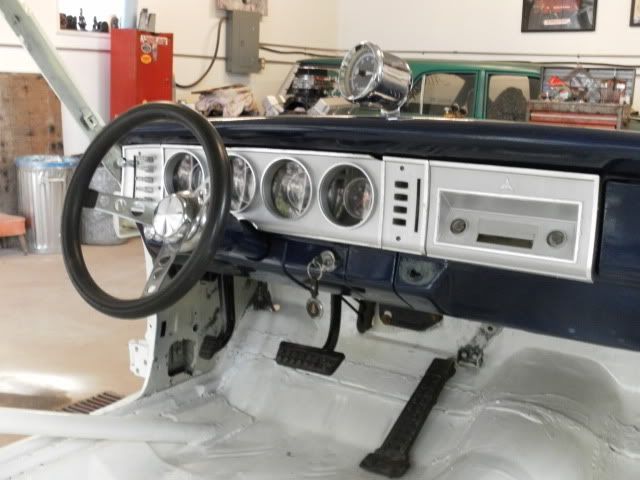
Next we sprayed all of the now re-primed and paint ready items out at Chris' shop where we set up a makeshift spray booth. This time the blue went down like it should, showcasing a little micro-flake. Chris then went to work on his tendinitis by colour sanding and laying out some clear over the now smooth blue. It turned out great and today I got it all installed with the retro-fit guage cluster, steering column and current steering wheel plus a few other bolt-ons to make everything look like a real car. We're planning on using the heater panel to house some of our toggle switches and I still need to make a radio delete plate but it's all coming together nicely. I also cleaned and lubed the pushbutton shifter controls and they now operate free and easy with pinky pressure.
Friday, April 1, 2011
Steering Contest
Friday, March 25, 2011
Stop Mocking Me!!
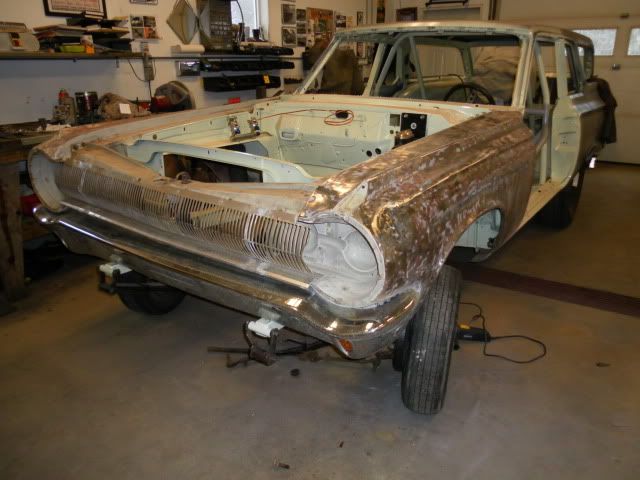
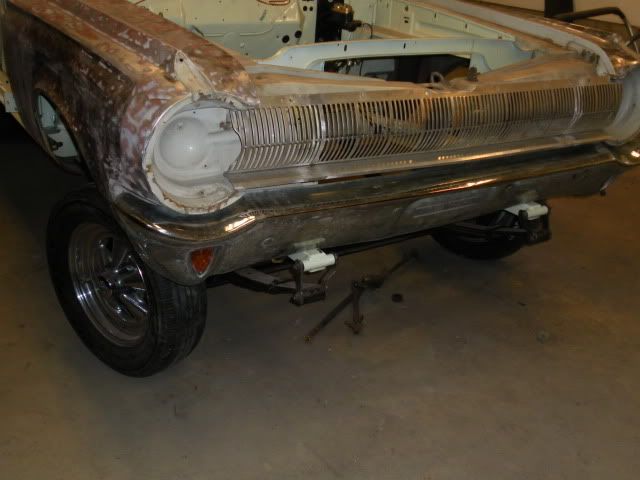
During the course of building a car from scratch you tend to do everything at least three times. Plan your attack, fabricate the parts, mock them up with surrounding parts to make sure everything jives then take it all apart for cleaning and paint. Finally when everything is completed and shiny it can all go together, hopefully for the last time. Here we are test fitting the our seriously modified fenders to make sure that we have clearance for our tires. Keeping in mind that the front end will lower an inch or two once we add 600+ pounds of big block to the equation. The other thing to consider in the nose dive effect that occurs when the brakes are applied hard at the end of the track. There are no interference issues for straight line action but the return road often comes up sooner than you'd like and is generally a pretty sharp corner. Keeping this in mind we decided to take a "safety slice" out of the lower corners. We're also planning on eventually scoring some Super Cushion front tires which are about two inches taller than the existing fronts. Since I had the fenders in place it seemed silly not to test the bumper, grill support and grill. Additional mounting holes were required and it's nice to get them all drilled before final paint.Now take it apart and get to work.
Thursday, March 17, 2011
Tick, Tick and Tick
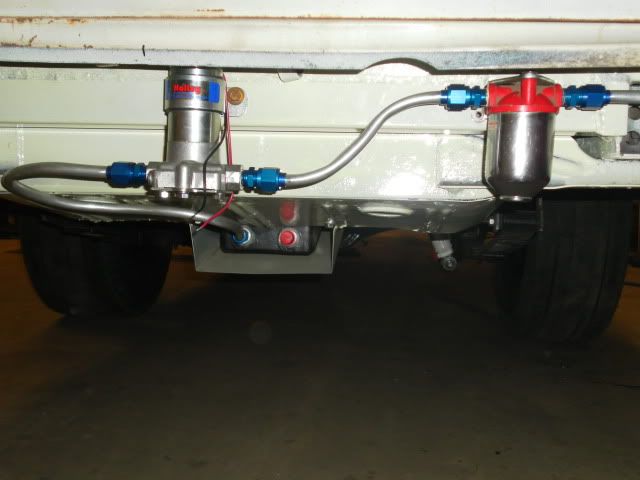
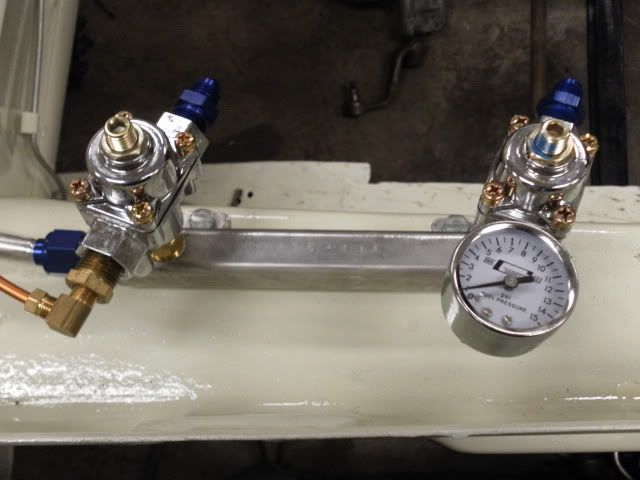
Just banging things off the list in anticipation for Spring since the snow is receding every day. Now watch, it will snow a foot over night. Any-who, we completed the fuel system tonight, running 1/2" aluminum line from the fuel cell to the pump and filter and all the way up to the nifty aluminum fuel log that Chris constructed. Everyone is really happy that he's been practicing his aluminum welding. From there we will be running braided steel line with one regulator for each carb but not until the motor is in place.
We then moved on to stringing the cables for the emergency brake system. Why on Earth would you run an E-brake in a race car I find you asking. Well, when you tend to trailer your car for hundreds of miles in order to find one flat stretch of track, your car tends to bounce and wiggle along the way. Since the original E-brake worked perfectly it seemed a shame not to put it back in place, just a bit shorter since the rear axle now lives a foot forward.
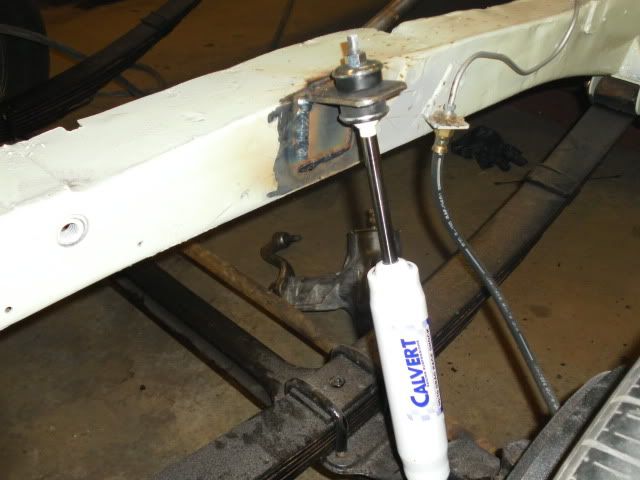
After that we proceeded to fabricate mounts for our 90/10 front drag shocks, also from Calvert Racing but not adjustable like the rears. We'll have to clean up all the fresh welds then touch up the paint before mounting them for real. The list is getting shorter which means that I can no longer procrastinate doing body work. Kill me now.
Sunday, March 13, 2011
It's a Roller
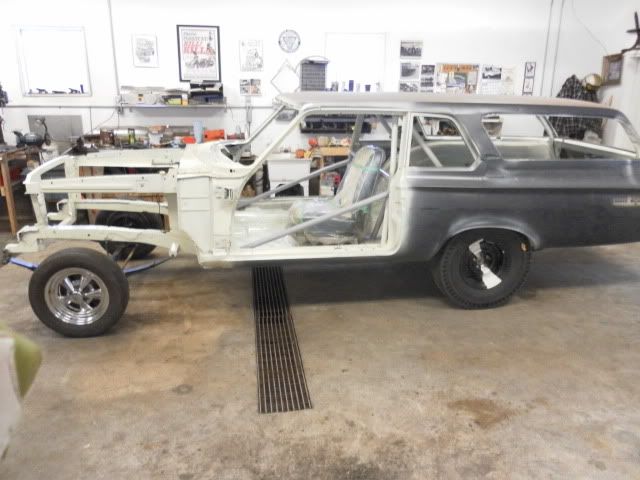
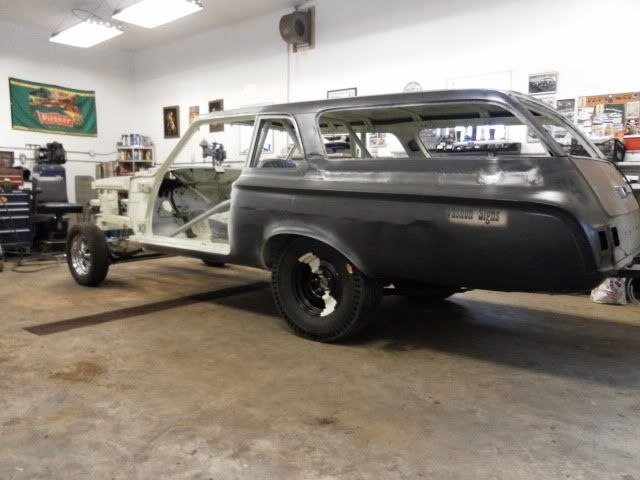
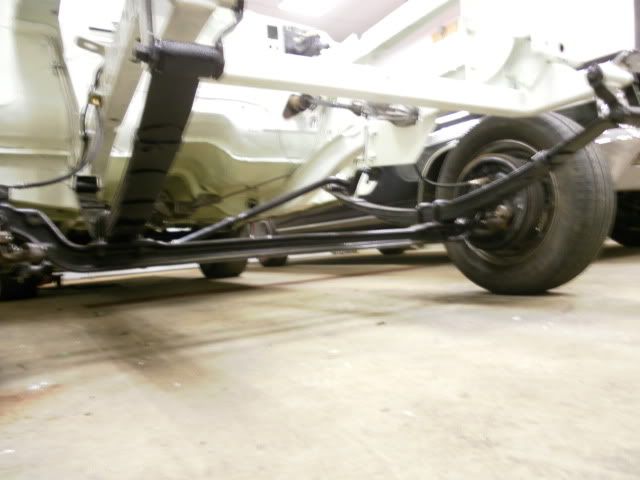
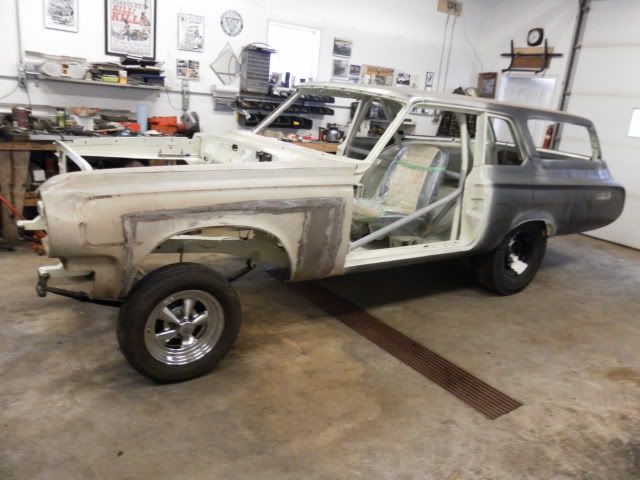
Now it's actually starting to look like a car again and we're beginning to empty boxes of shiny new items which is always really exciting. We installed our Calvert Racing nine way adjustable shocks as well today and started building some of our steering components. This will be our next big Wednesday mission. Until then I will continue to prep the doors, then move onto the fenders that appear to still require some clearancing. Here you can see the driver's fender mocked up and it almost contacts the tire. We don't plan on running these tiny fronts so bigger rubber will definitely have an interference fit.
Subscribe to:
Posts (Atom)