Friday, January 28, 2011
Safety Last
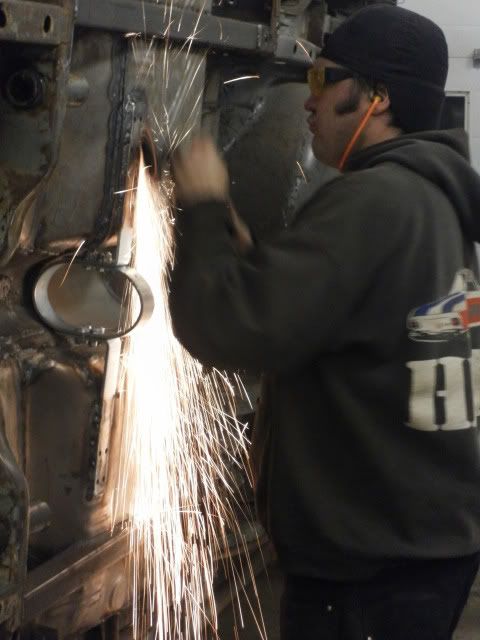
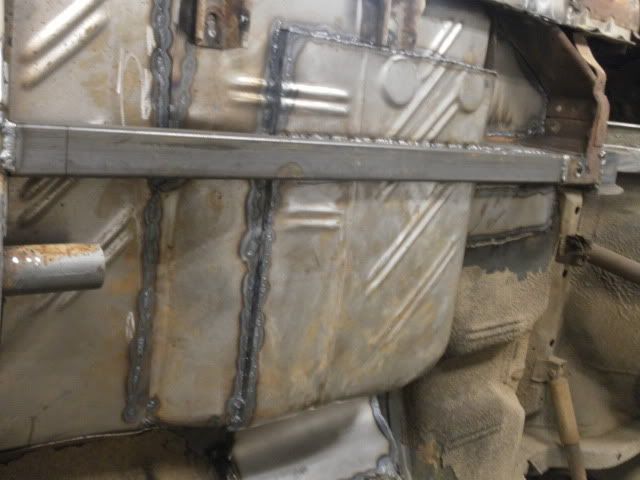
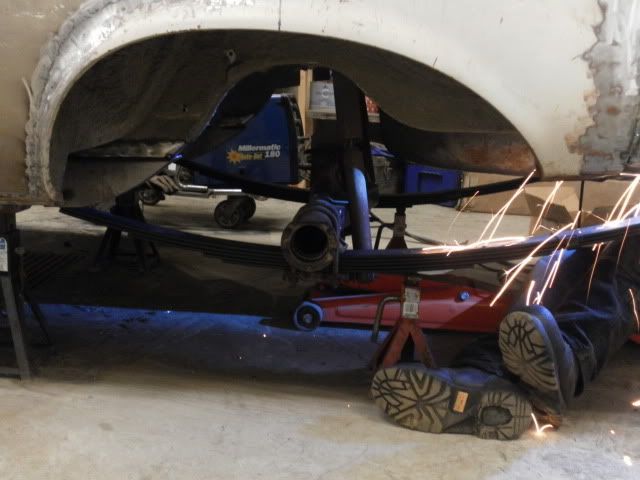
We've been hard at work lately trying to mould this chunk of vintage steel into something that will evetually be El Chupacabra II. For anyone who has ever built a car from the ground up, you will understand that it takes hundreds of hours to get the job done. Sometimes it's all about little victories, not unlike drag racing. If everyone went to the track under the impression that they would be the winner then there would be a lot of disappointed racers. Don't get me wrong, you should have a positive attitude and try to win...just don't expect it. We have successfully finished all of the cutting, moving braces, reinforcing and welding in the underhood area. Now we are back to focusing on the underside. Last night we took care of the drive shaft loop that is required for any car running slicks. It comes with a bunch of hardware to mount it to the floor but we decided that that's for people who don't know how to weld.
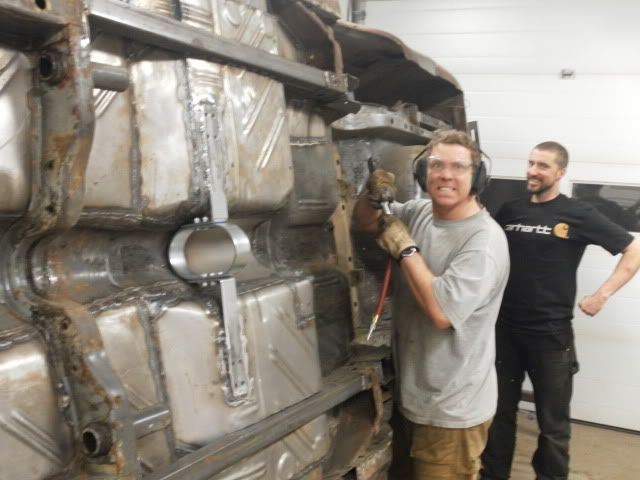
Here you can see a somewhat psychotic looking Chris and Graham chipping more undercoating. Does it ever end?
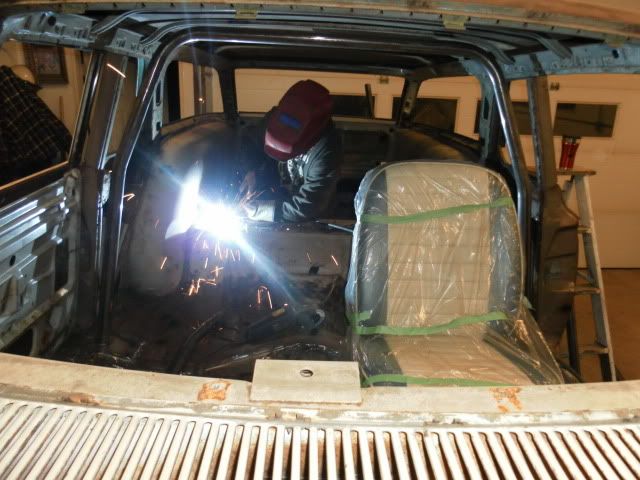
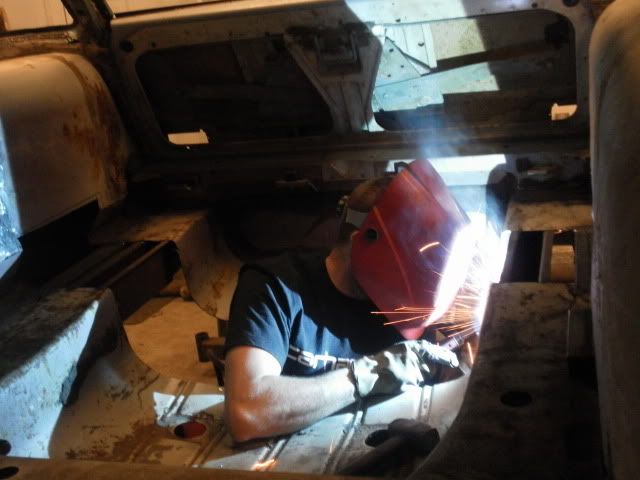
Next we moved onto the cab where we got a huge section of the new eight point roll bar system done. NHRA (No Hot Rods Allowed) requires us to have a fully welded 6"x6" steel square plate located under every piece of pipe that doesn't attach directly to frame material. This usually means trying to shape a 1/8" piece of steel to a contoured floor. It's pretty fun I guess. The job is somewhat tedious since you have to weld a small portion then hammer down another inch, weld some more, hammer etc. We managed to get the main hoop and the rear braces fully welded in place as well as most of the bracing for the other half of the kit.
Monday, January 24, 2011
More Inspiration
A huge thanks to Gabe for buying an I-phone, without which we may have never found these images. Mind you, we also don't seem to see him much anymore. Do you think there's a connection?
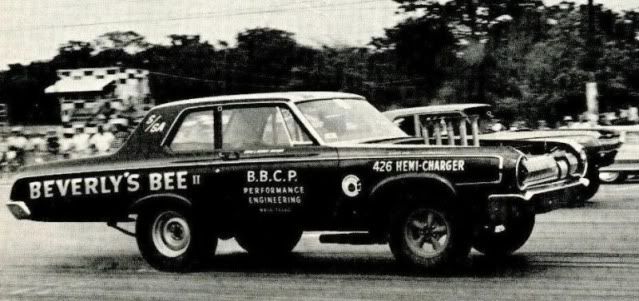
If you have an injected Hemi sedan then you can pretty much paint it any colour you choose and call it whatever you want. Case in point.
This odd ball '64 appears to be altered only in the rear and maybe just the 2% in the front. It really gives it a super short wheel base and confirms why people tagged these rigs "funny cars".
All hail to the king
Dick Landy "RIP"
Wednesday, January 19, 2011
Rotisserized
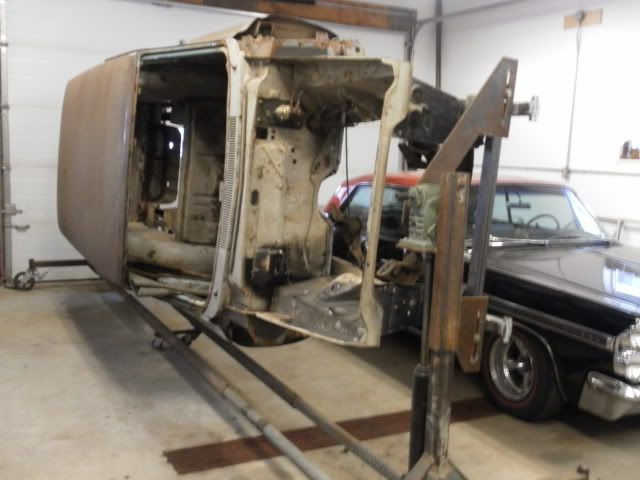
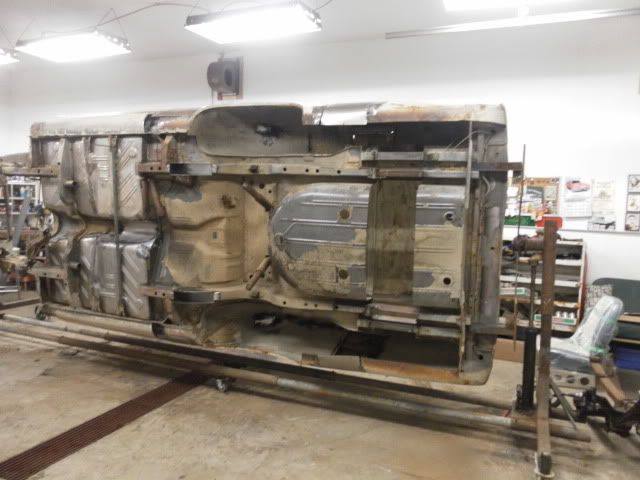
Well, we have officially delved into phase two of this build which will take us through completing the underside of the car into body colour. We are currently dealing with scraping off the factory undercoating which in conjunction with 45 years of road grime has turned into a special kind of mortar. It's a slow process but it needs to be removed before paint, plus we figure that we scraped off over 100 pounds from our other race car so it's a winning solution.
After painting the under side we will focus on running all of our steel brake and fuel lines. We will also deal with all of the lower portion body work while we are in rotisserie mode since it's so accessible. Finally, we plan to get the engine compartment and door jambs into body colour before we venture into phase three which will include a rolling chassis and start installing all of the mechanical and wiring. Body and paint are pretty much last on the list. This segment will seem somewhat boring since it will mostly entail countless hours of grinding, scraping, welding, repeat. With not much visual progress to report.
I managed to get the drivers side sub-frame connector welded in today as well as modifying the floor section where the seat will go in order to gain some head space. The connectors are slip fit into the rear sub-frame and welded to a 6" plate in the front as well as being tied into the new lowered floor. This set-up is tight and rigid.
Monday, January 17, 2011
Shackle Mounts
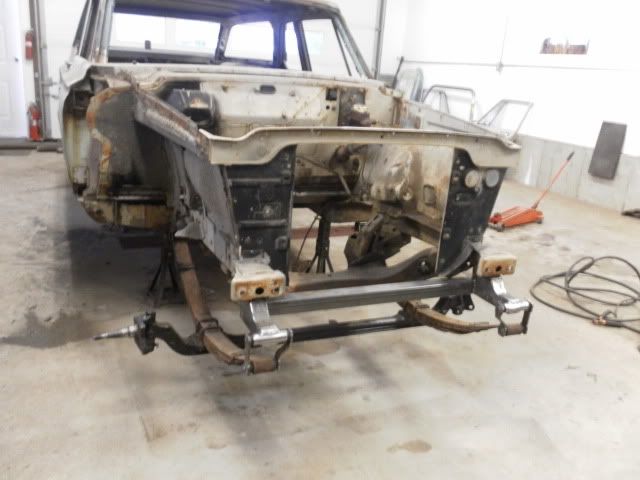
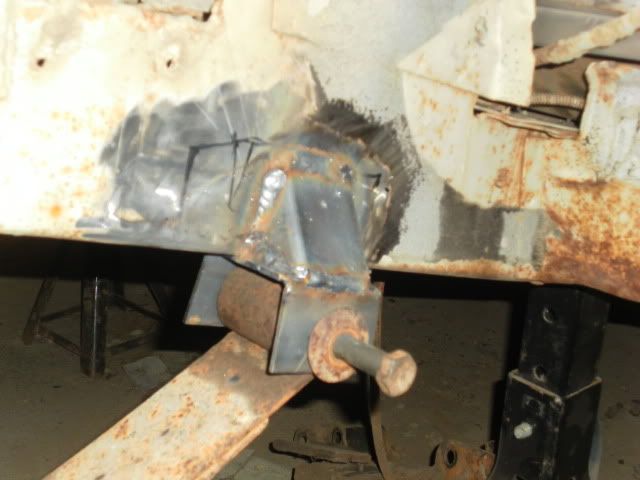
We got the front shackle mounts finished and the new forward cross member tied together and it looks killer. This will give lots of rigidity in the front of the car and help negate any lateral deflection from the radical angle changes between wheels up action to slamming down onto the limiters. This will also help to replace the bracing that the K-frame currently offers since it will be going by the way side. We will be adding a similar cross brace when we tie in the drive shaft loop and at the rear most part of the car.
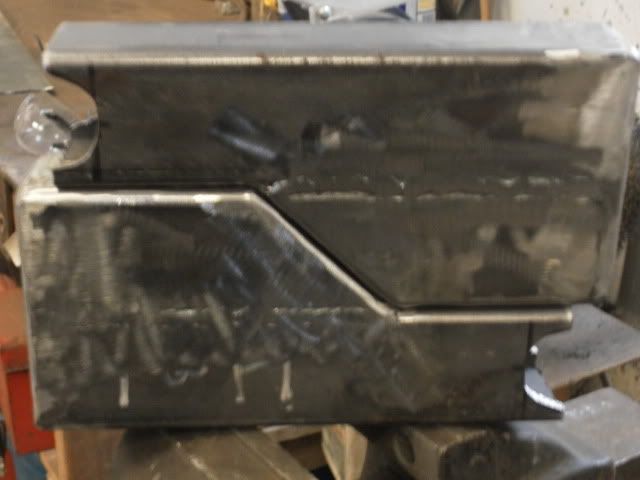
Finding 1" tubing to accept the shackle bushings for our front mount turned out to be a futile effort in our little town, so I ended up using a 1" pipe nipple, slashing a "V" down it's length and welding it back together to make the 1" inside diameter work. Then I hand notched the end of the new 2x4 mount to accept the new pipe for the upper shackle. Everything was then tacked in place, measured, re-measured, re-tacked, repeat, repeat...you get the idea. Then finally welded solid on the bench and flap wheeled so it will look smooth and professional. We will still brace this already over built mount since this section will be getting ridiculous stress loads.
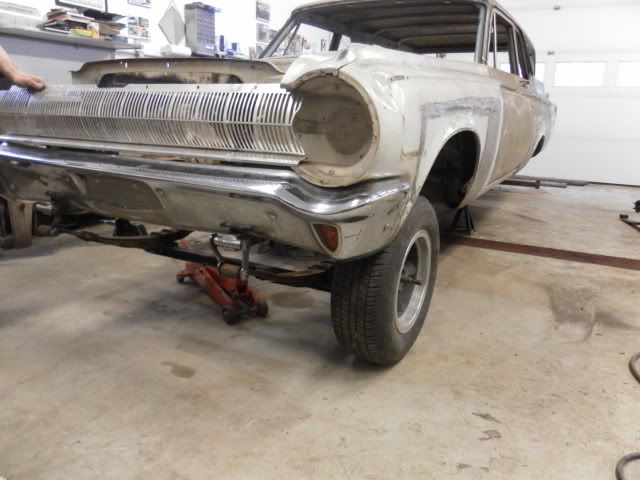
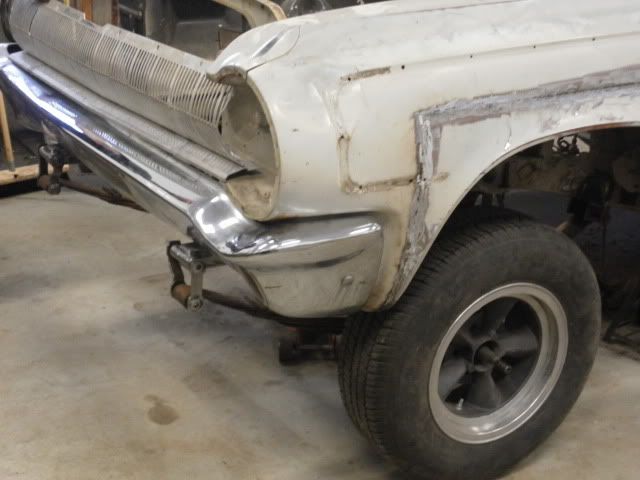
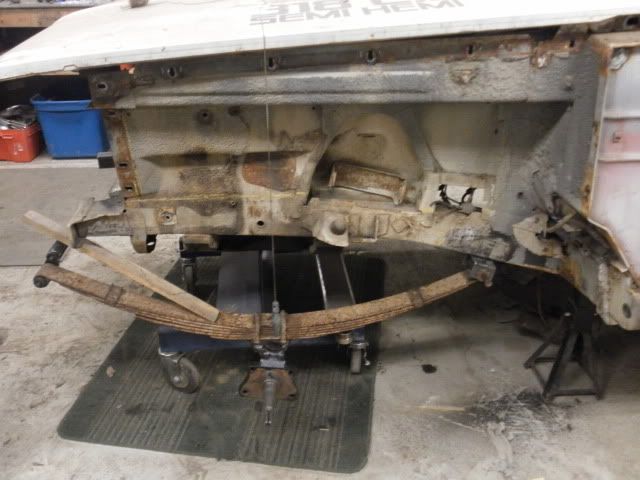
Since the un-cut van axle places the spring mounts just outside of the frame rails we decided to use our factory '64 rear offset shackles to compensate for this instead of welding clunky mounts to the outside of the frame. One of our more clever moments if you ask me. The 1 1/2" shift on each side set us square in the middle of the frame for our spring mounts. A test fit of the bumper revealed that a notch would be required to allow clearance of the new mounts. This is a bad-ass look and the new mounts are clearly visible from the front of the car. I had no choice but to mock up the fender, Hemi grill and front wheel for the photo-op.
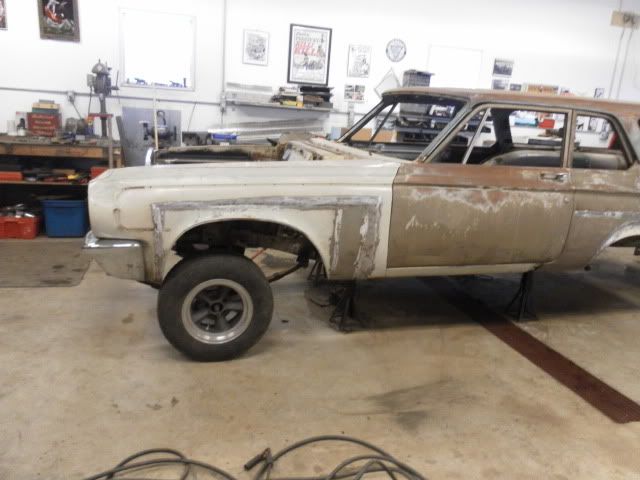
The side view with the wheel in place looks insane but we won't be running these sausage tires at the track. Plus the extra 600 pounds over the front will tighten the gap.
Wednesday, January 12, 2011
Spring Mounts
Well, I just got in from the shop and it's freakin' 11:00 pm. We rounded up a good night of production on the beast and moved ever closer to the next phase of the project, at which stage I can give the shop a good cleansing and try to find all of my tools. There's nothing worse than a disorganized shop when your trying to get shit done and happen to be short on time and sometimes patience.
We finished fabbing up the brackets for the rear leaf spring relocation, mocked everything up in place then removed it all.
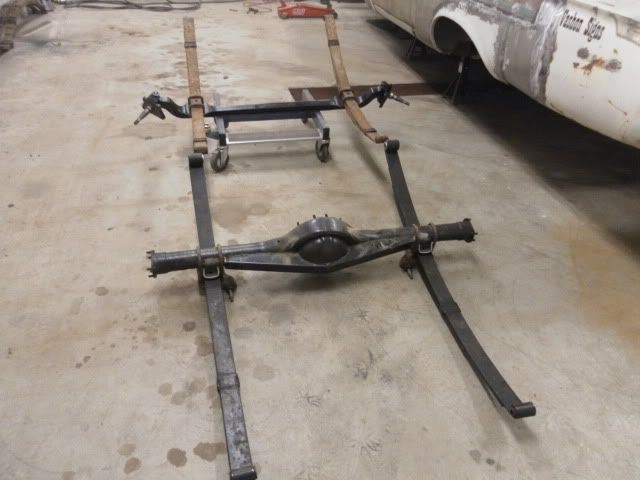
Then we connected the front axle to the leaf packs and bolted them together so it would be square for mounting. Next a "C" shaped spring hanger was made from flat stock and drilled for the center pin. This was then mounted to a simple yet strong triangular mount that was welded to the frame. The length of the un-shortened straight axle places the leaf springs just outside of the frame, so hangar extensions were required. In the front we will be using the off-set shackles that used to be on our factory leaf springs to compensate for this. Hopefully over the next couple of days I will get time to fab the mounts for the front but it was getting too late to delve into that tonight. It's really good seeing a straight axle under this car, it really looks at home and feels like solid progress.
Saturday, January 8, 2011
Move Along...
...Nothing to see here. Although we have been hard at work on "Frankenwagon" (that name is only temporary), there isn't anything in the shop worth a good progress photo. I mean unless you like piles of steel shavings and undercoat and tools strewn everywhere. We have a number of different tasks in the works right now that are being accomplished somewhat simultaneously in order to get to our next phase of events involving the rotisserie. The rear leaf spring relocation kit is mostly installed; The front leaf spring mounts are nearly ready to hang in
place; sub-frame connectors need to be welded in; and we just got our roll bar kit that will seriously stiffen everything up when we tie it into the frame. So there's no lallygagging going on here. I've also been tending to the seemingly endless chore of welding in patch panels both inside and out. It's all for the greater good and every hour spent puts us that much closer to wheels up action.
place; sub-frame connectors need to be welded in; and we just got our roll bar kit that will seriously stiffen everything up when we tie it into the frame. So there's no lallygagging going on here. I've also been tending to the seemingly endless chore of welding in patch panels both inside and out. It's all for the greater good and every hour spent puts us that much closer to wheels up action.
Subscribe to:
Comments (Atom)
