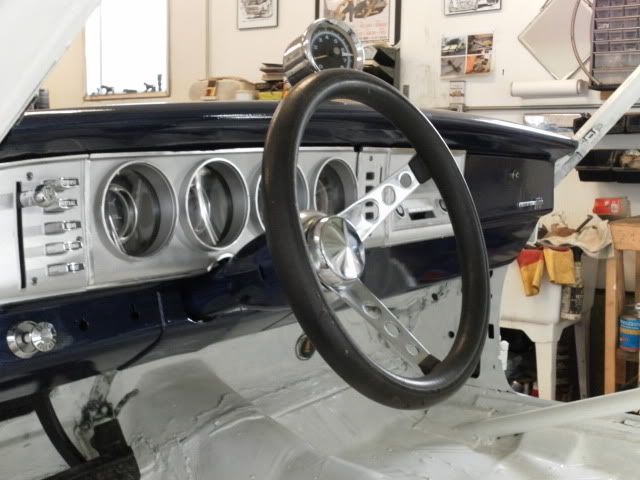
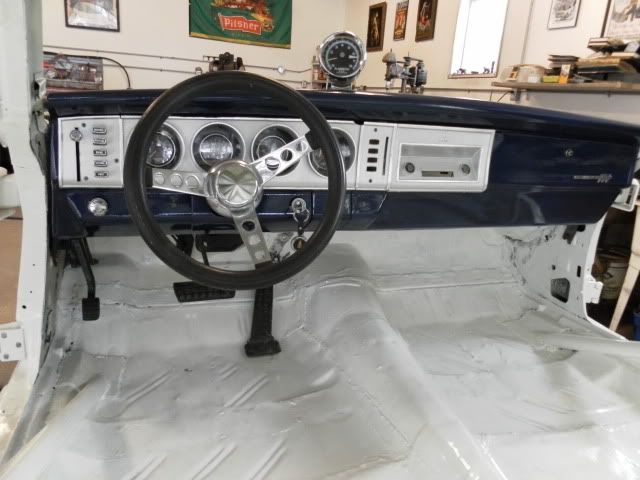
We finally settled on a colour to off-set the Ivory on the body and wanted to showcase some of it in our interior. The dash originally had a pad on it so was full of holes for mounting it, plus there were other holes drilled throughout the top for speakers and the like. I set to work welding up these unwanted vacancies and then set to work laying body filler over the whole thing since it was pocked and marred by surface rust. Once that was looking nice and smooth I layed down some primer and went to work on the steering column, hood scoop and other dash related items giving them the same treatment. Since I ended up brushing on some of the single stage ivory paint in the interior with reasonably descent results I thought I would try this with the blue. Huge mistake!! It turned out looking like crap and I had to sand everything down to smooth again. What a total waste of time and energy. O.K. I'm over it.
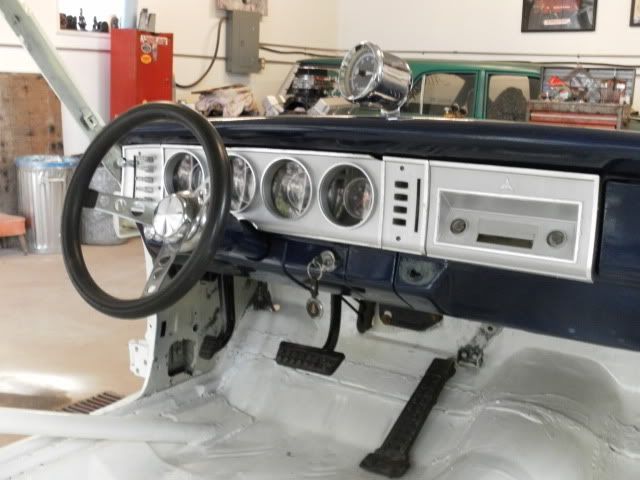
Next we sprayed all of the now re-primed and paint ready items out at Chris' shop where we set up a makeshift spray booth. This time the blue went down like it should, showcasing a little micro-flake. Chris then went to work on his tendinitis by colour sanding and laying out some clear over the now smooth blue. It turned out great and today I got it all installed with the retro-fit guage cluster, steering column and current steering wheel plus a few other bolt-ons to make everything look like a real car. We're planning on using the heater panel to house some of our toggle switches and I still need to make a radio delete plate but it's all coming together nicely. I also cleaned and lubed the pushbutton shifter controls and they now operate free and easy with pinky pressure.
No comments:
Post a Comment